Kubernetes Cluster Setup with Kind

DevOps Enthusiast | Exploring Cloud & Automation I’m an aspiring DevOps professional passionate about cloud computing, automation, and CI/CD pipelines. I’m currently gaining hands-on experience with tools like AWS, Docker, Kubernetes, Jenkins and GitLab CI/CD, Terraform, Ansible, and more. My focus is on improving development and deployment processes through continuous learning and practical application.
Alongside my learning journey, I share my insights and experiences through blogs to help others who are exploring the same path. I believe in learning together and growing by sharing knowledge, and I’m excited to connect with like-minded individuals in the field.
Let’s collaborate, share ideas, and grow together!
Introduction:
In this guide, I’ll show you how to install Kind and create your first Kubernetes cluster. It’s an easy way to get started with Kubernetes on your computer. I’ll take you through each step to make it simple and clear
Note
I’m using an AWS EC2 instance, but you can install Kind locally. The steps are the same.
Launching Your EC2 Instance
Note:
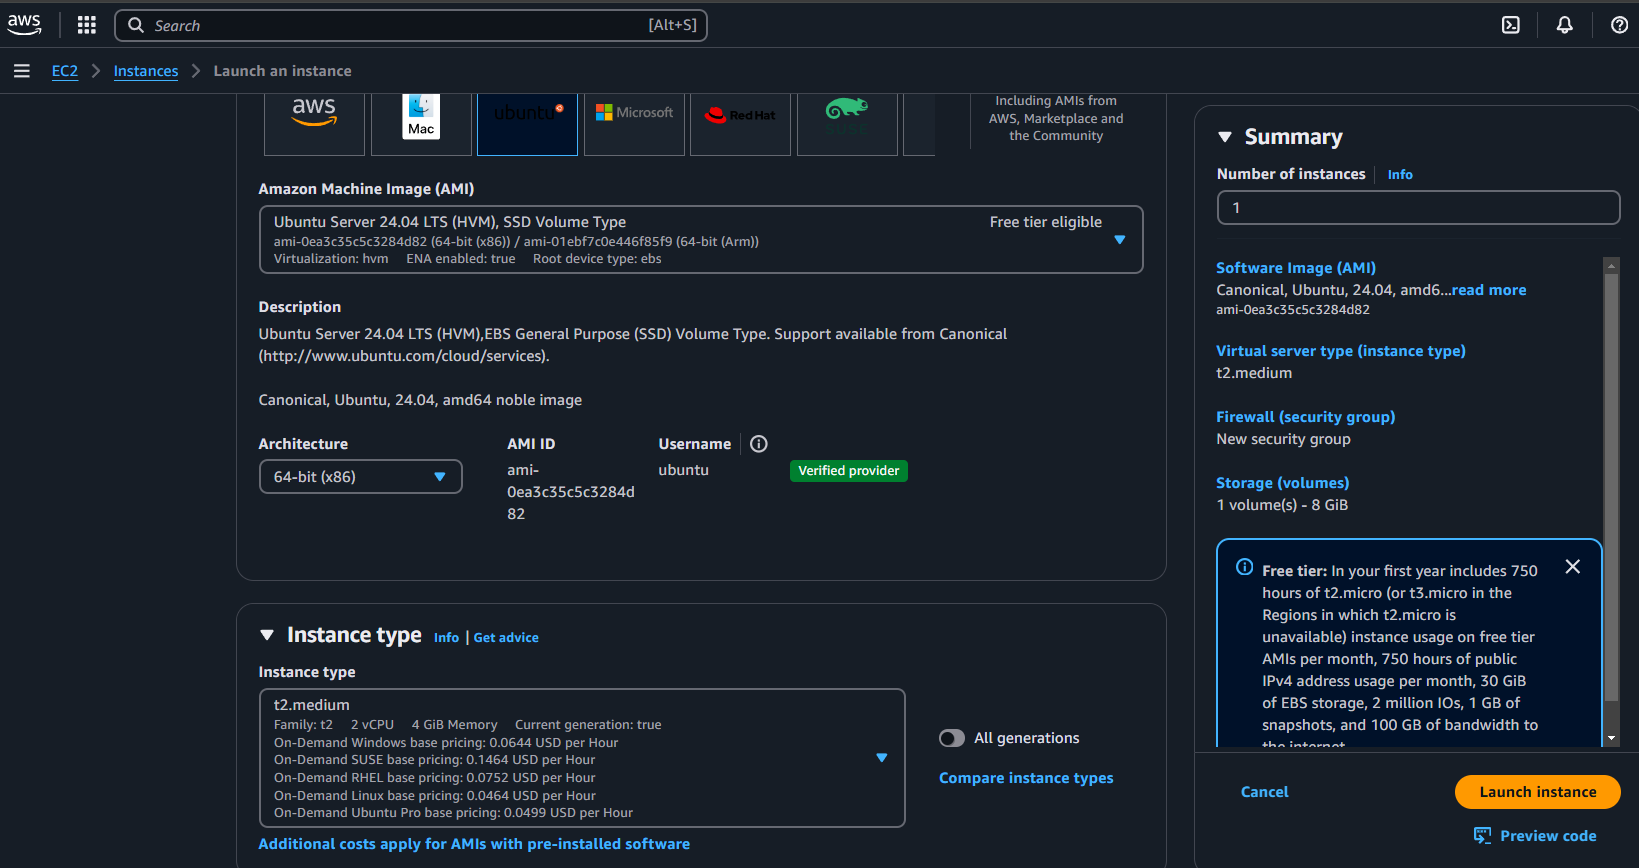
Kubernetes is running on a medium EC2 machine (t2.medium). Use t2.medium or t3.medium based on your region.
Setting Up EC2 t2.medium Instance:
Log in to AWS Console:
Go to the AWS Management Console and sign in.Launch a New Instance:
In the EC2 dashboard, click on “Launch Instance” to create a new server.Choose an AMI (Amazon Machine Image):
Select an appropriate AMI (like Ubuntu or Amazon Linux) based on your preference.Choose Instance Type:
Under Choose an Instance Type select { t2.medium}. This instance is suitable for running Kubernetes.
Configure Instance Details:
Set your network settings and configure other instance details as needed. You can leave the default settings if you’re unsure.Add Storage:
I’m using 15 GB of storage because it’s covered under the AWS Free Tier. You can adjust the size if needed.Configure Security Group:
The security group should already allow SSH access (port 22) by default.Review and Launch:
Review your settings and click “Launch.” Choose or create a new key pair to connect to your instance.Connect to the Instance:
Once the instance is running, connect to it using SSH with the key pair you selected.

Now, connect to your EC2 instance using SSH. Open your terminal and run:
ssh -i your-key.pem ec2-user@ec2-public-ip
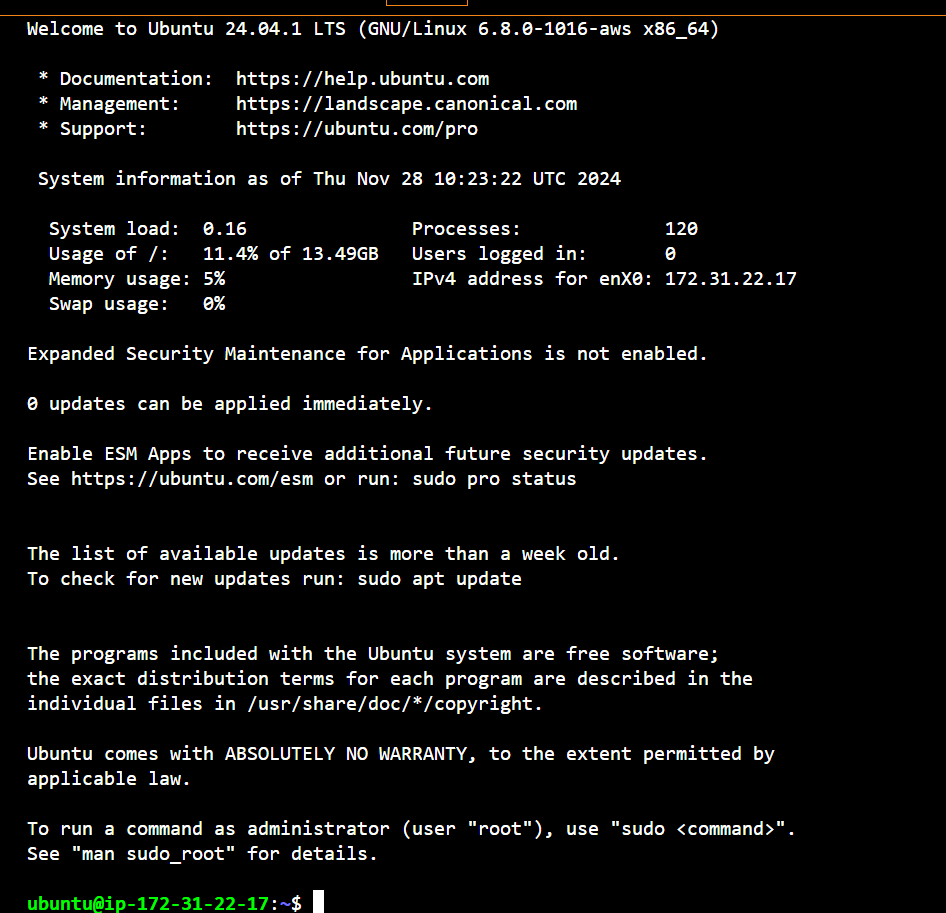
Congratulations Your machine is now set up and ready for Kubernetes.
Note
Before installing Kind, it’s important to understand its architecture. Also, make sure Docker is installed on your machine, as Kind relies on Docker to create Kubernetes clusters.
Installing Docker
- Update the Package List:
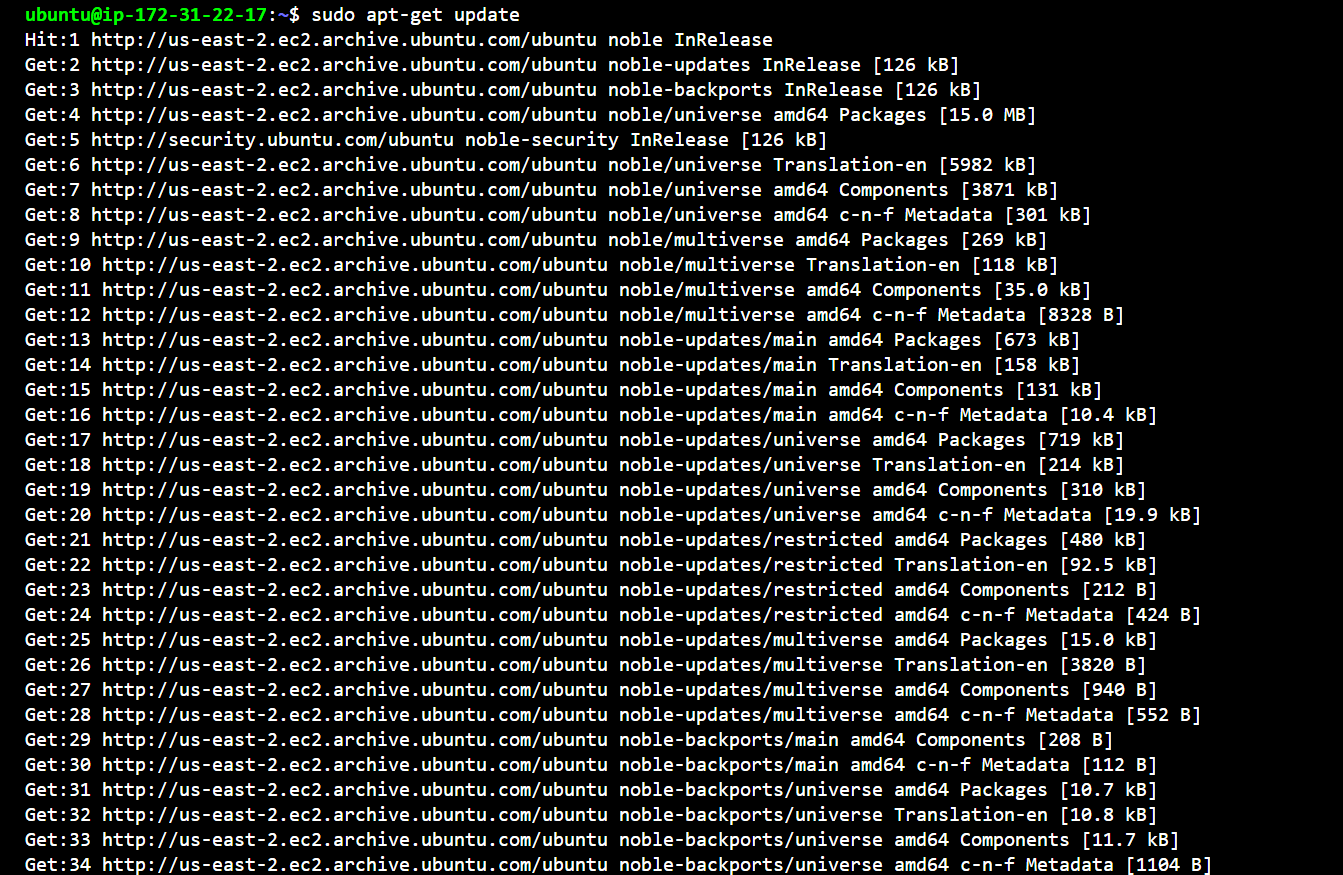
Run the following command to update the package list on your instance:
sudo apt update
- Install Docker:
Install Docker with the command:
sudo apt install docker.io
Type y to confirm the installation.
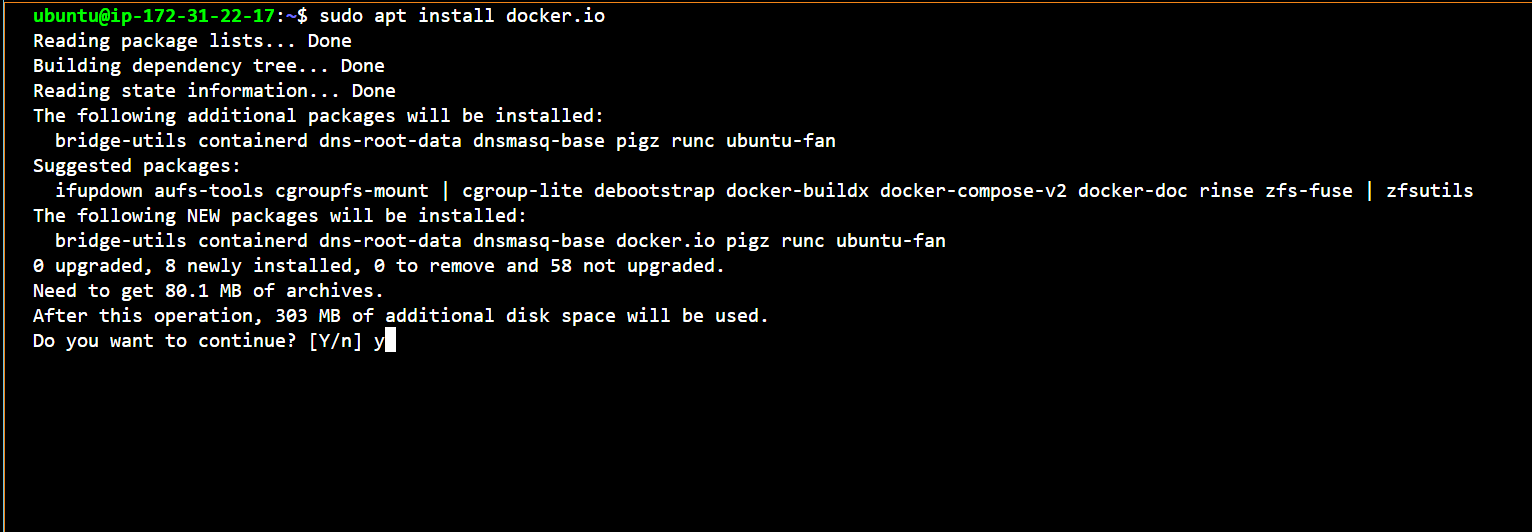
- Verify Docker Installation:
Once Docker is installed, verify it’s running by adding your user to the Docker group and activating it with the command:
sudo usermod -aG docker ubuntu && newgrp docker
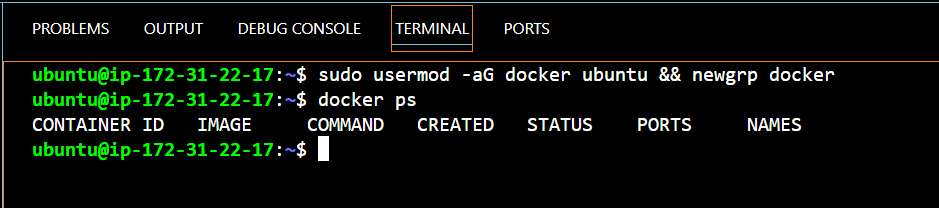
Now Docker is running, and we are all set to install Kubernetes using Kind.
What is Kind
Kind (Kubernetes IN Docker) is a tool that lets you run Kubernetes clusters in Docker containers. It’s ideal for testing and development as it’s lightweight and easy to set up. You can use Kind to create clusters on various cloud providers like AWS, Google Cloud, Azure, or even locally on your machine.
Check Your CPU Architecture
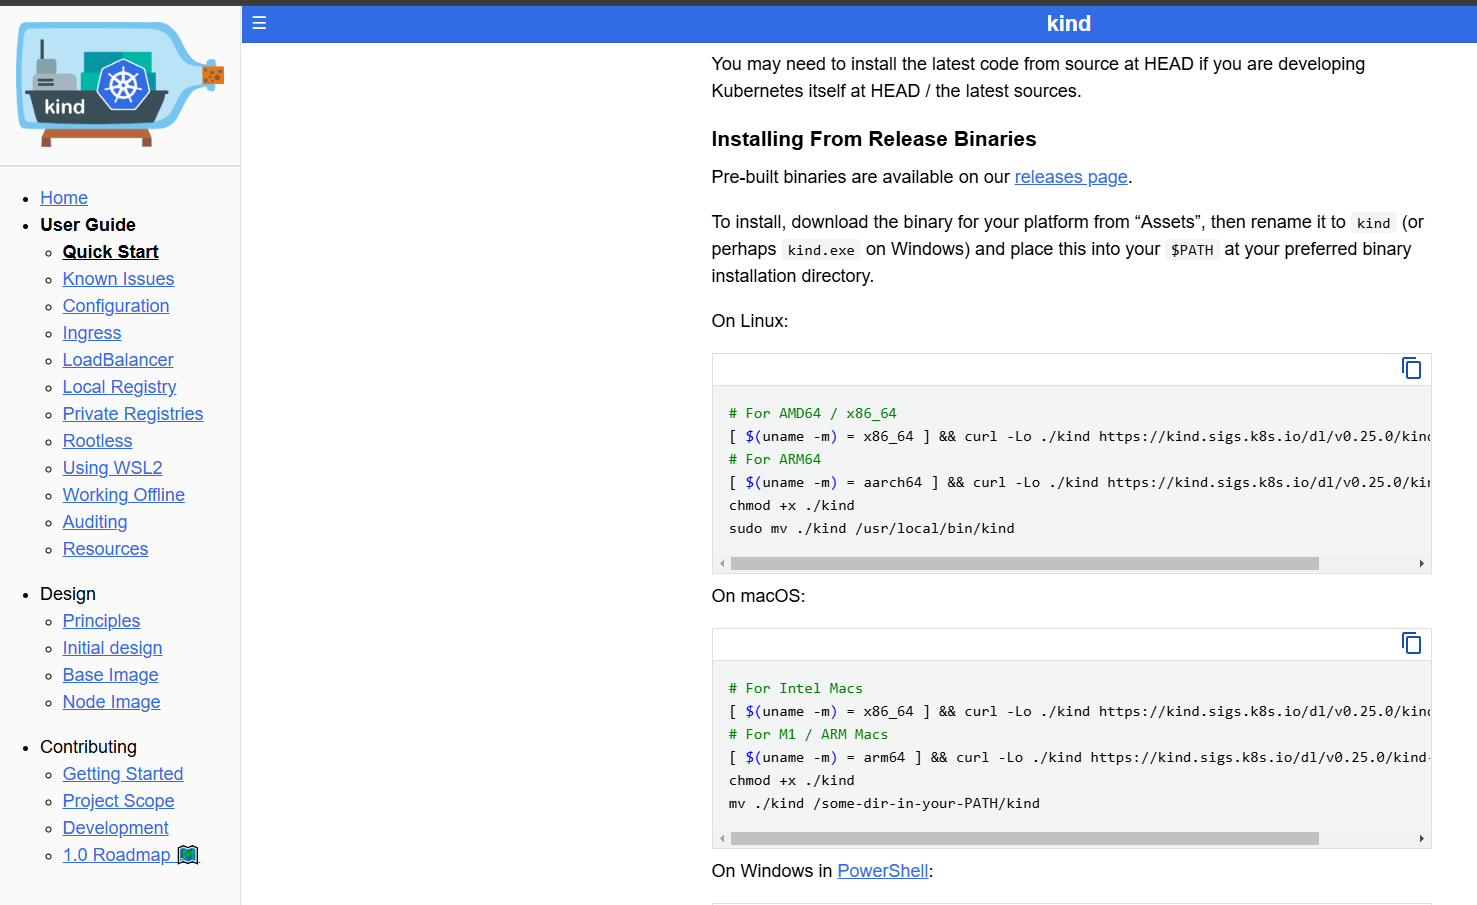
Before installing Kind, it’s important to check the CPU architecture of your EC2 instance or local machine. For most EC2 instances and local computers, the architecture will typically be x86_64 (AMD64). Make sure your system matches this before proceeding with the installation.
Installing Kind Step by Step
Installing Kind Binaries:
Check Architecture:
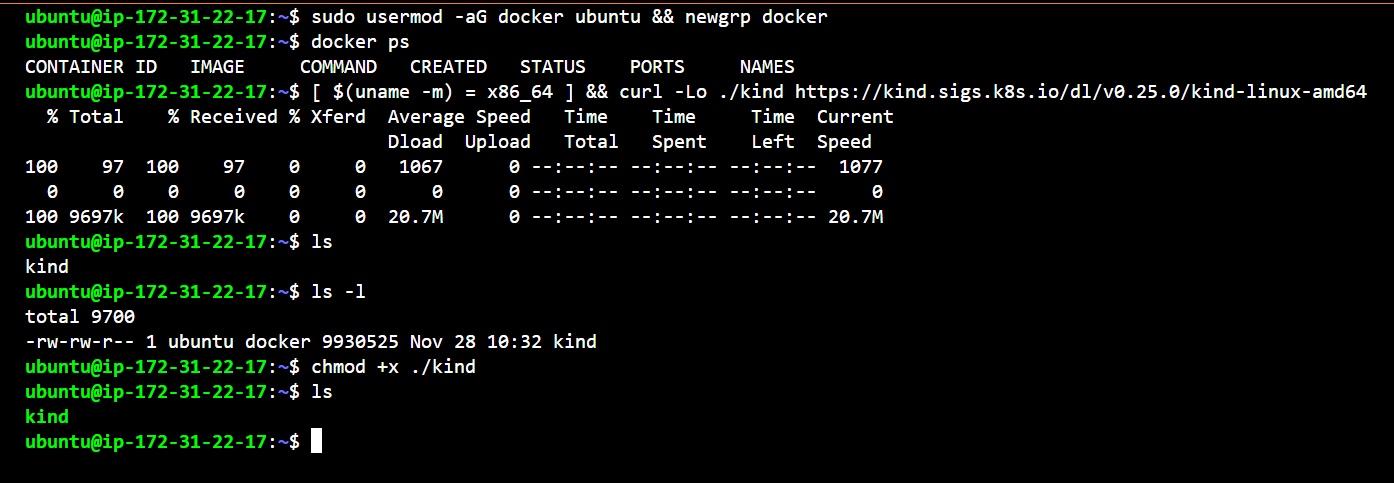
First, confirm your system’s architecture is x86_64 by running the following command:[ $(uname -m) = x86_64 ] && curl -Lo ./kindhttps://kind.sigs.k8s.io/dl/v0.25.0/kind-linux-amd64
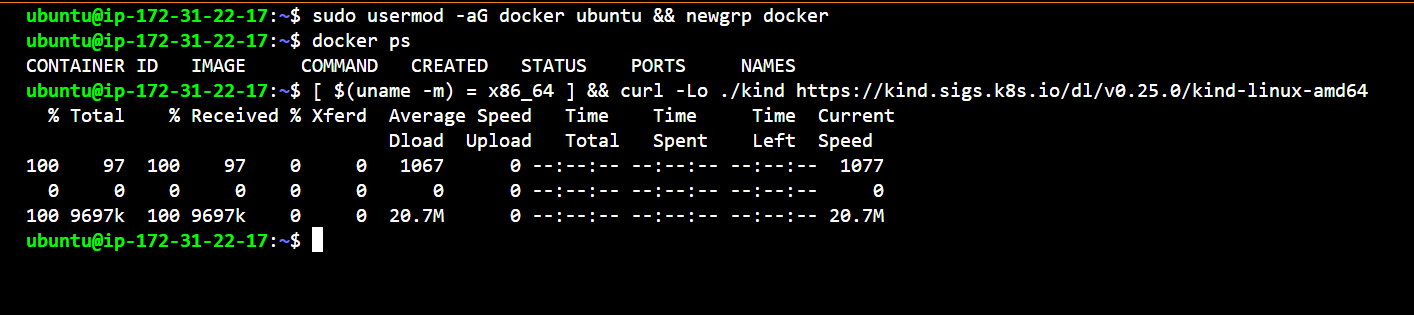
Download the Kind Binary:
If the architecture is correct, this command will download the Kind binary to your system.Make the Binary Executable:
After downloading, you need to give the Kind binary execute permissions with the command:chmod +x ./kind
Move the Binary to PATH:
To run Kind globally, move the binary to a directory in your PATH:sudo mv ./kind /usr/local/bin/kind
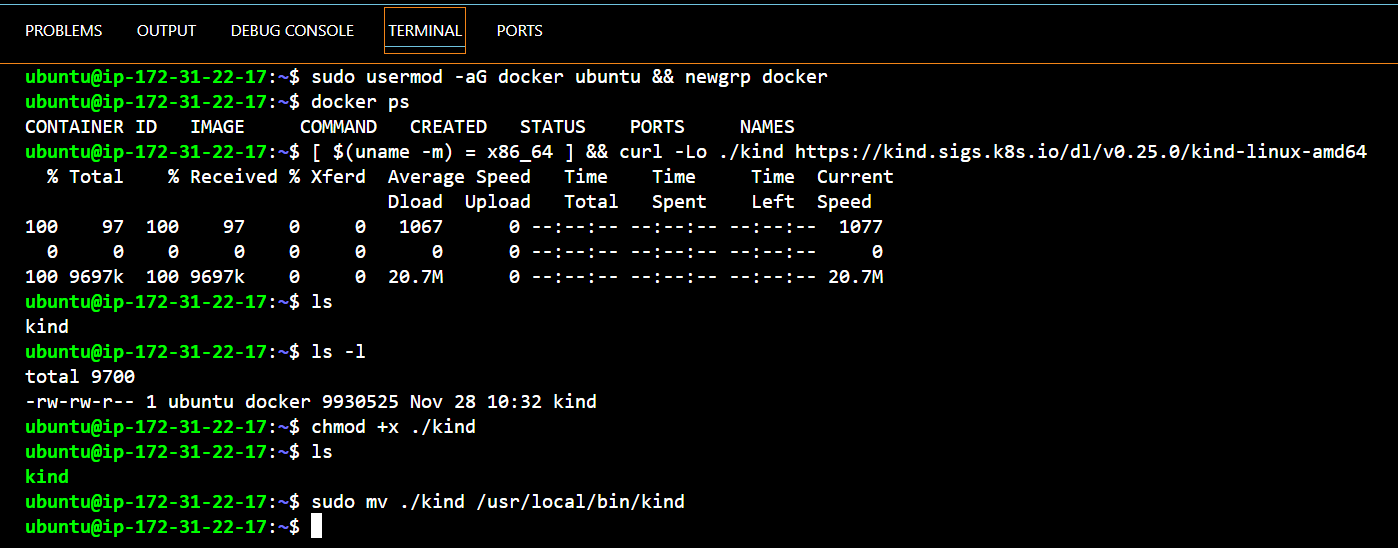
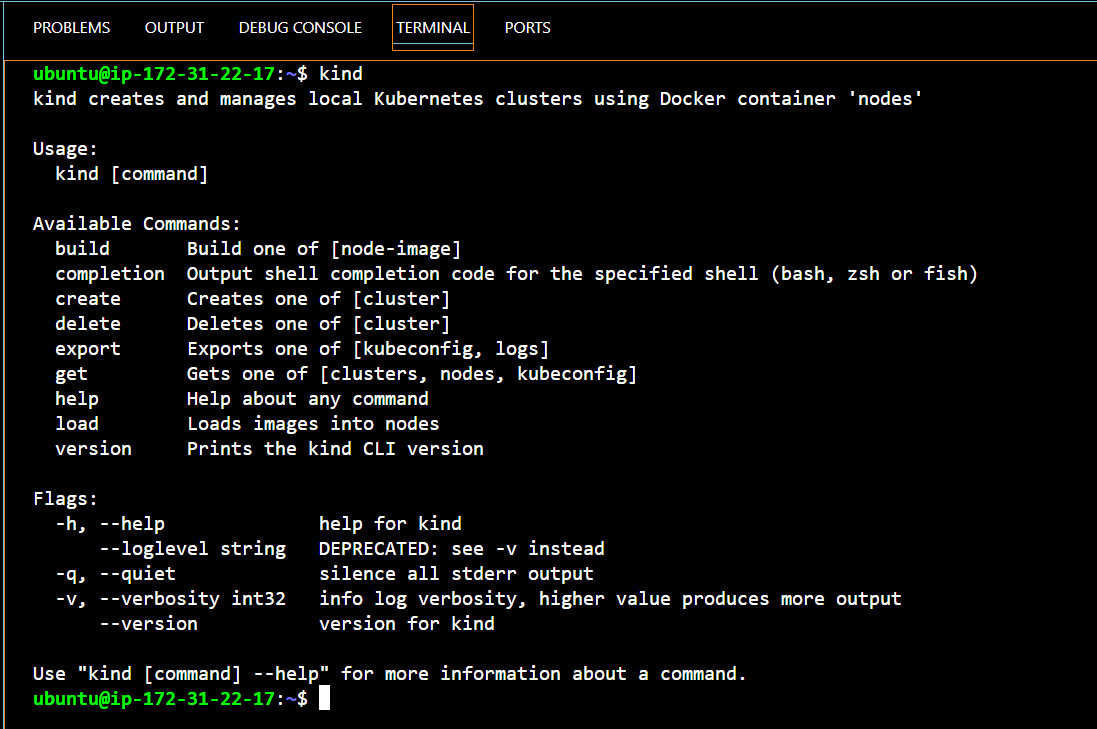
Congratulations, Kind is now active and running
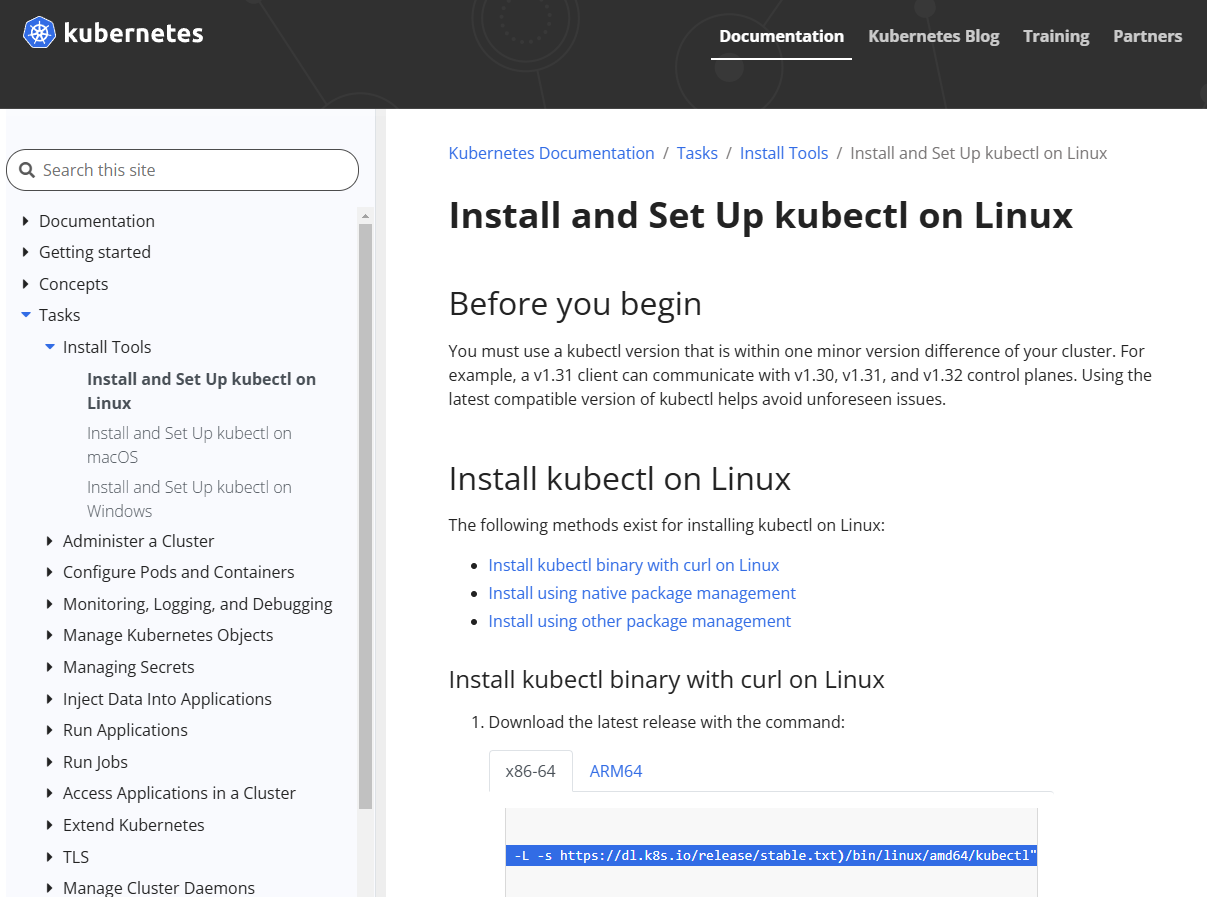
Note :- Now, we need to install kubectl on your machine to interact with Kubernetes. Think of kubectl as the CEO of Kubernetes it lets you manage and control your Kubernetes clusters.
Installing kubectl:
Download kubectl Binary:
To download the latest release of kubectl, run this command:curl -LO "https://dl.k8s.io/release/$(curl-L -shttps://dl.k8s.io/release/stable.txt)/bin/linux/amd64/kubectl"

Validate the kubectl Binary (Optional):
Download the checksum file:
curl -LO "https://dl.k8s.io/release/$(curl-L -shttps://dl.k8s.io/release/stable.txt)/bin/linux/amd64/kubectl.sha256"

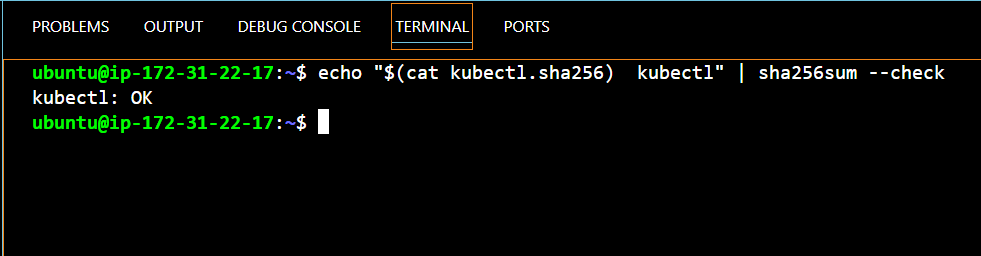
Validate the binary against the checksum file:
echo "$(cat kubectl.sha256) kubectl" | sha256sum --check
If the binary is valid, you’ll see:
kubectl: OK
Install kubectl:
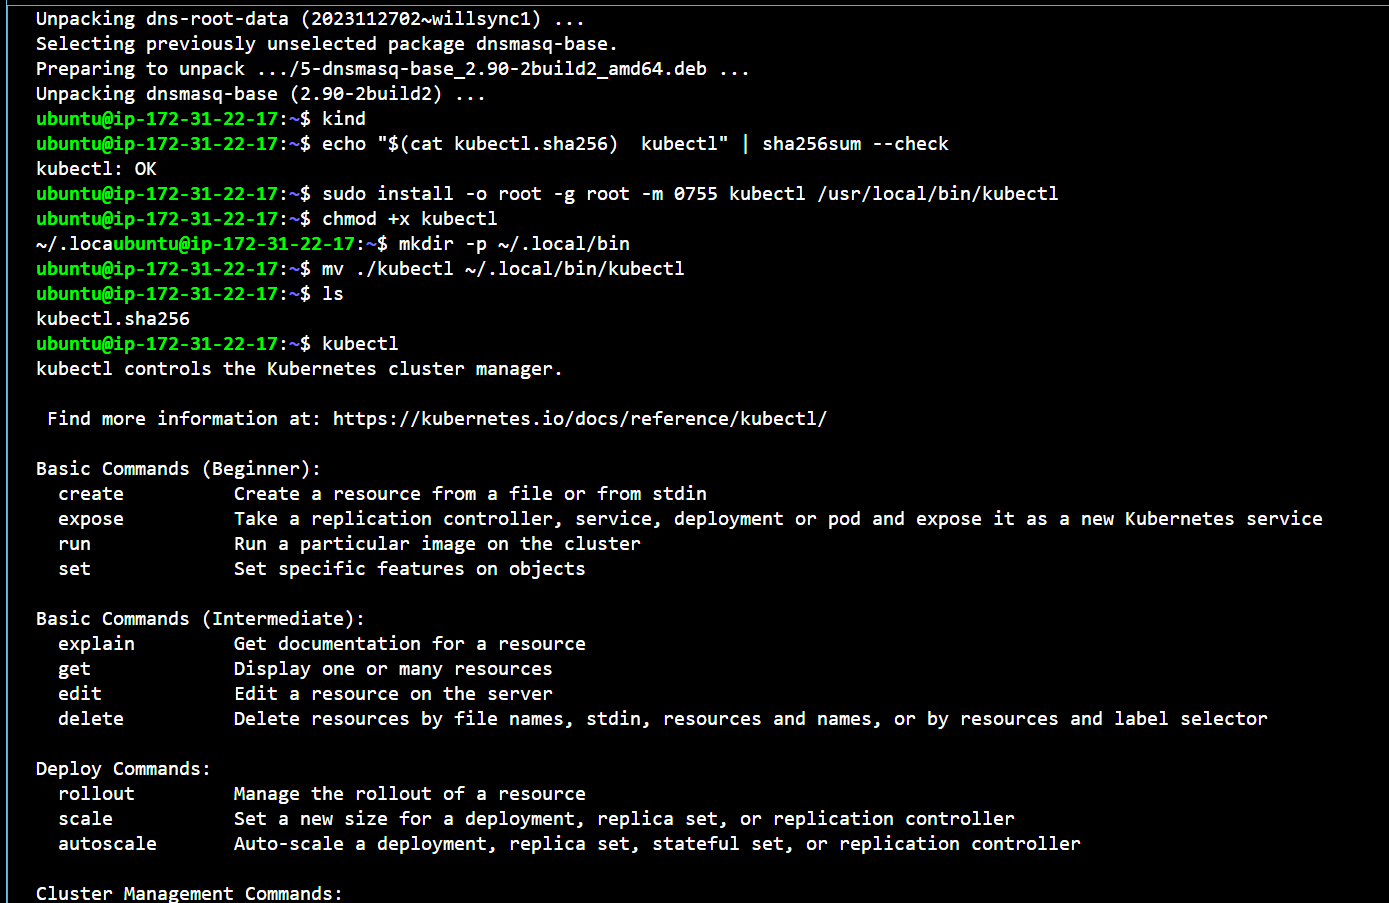
Run this command to install kubectl in your system:
sudo install -o root -g root -m 0755 kubectl /usr/local/bin/kubectl
Set kubectl Path:
Append (or prepend) ~/.local/bin to your $PATH
chmod +x kubectl
mkdir -p ~/.local/bin
mv ./kubectl ~/.local/bin/kubectl
Congratulations, Kind and kubectl are set up. Now you can work with Kubernetes
Check Kind Version:
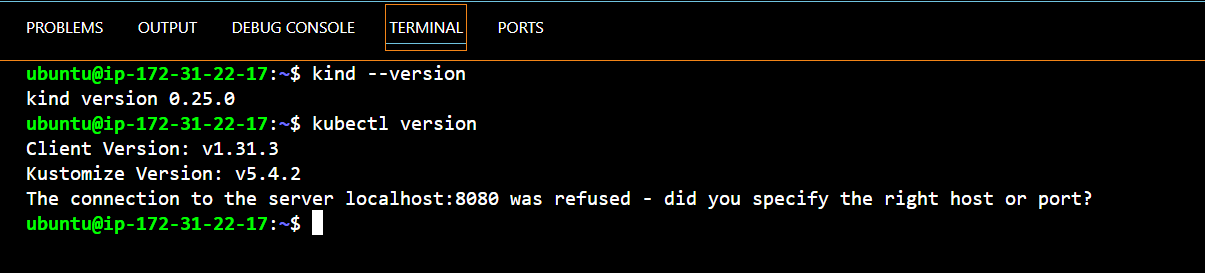
Run the following command to ensure Kind is running:kind --version
Check kubectl Version:
Run this command to check the kubectl version:kubectl version
Congratulations, Kind and kubectl are set up. Now you can work with Kubernetes
Create Your First Kubernetes Cluster
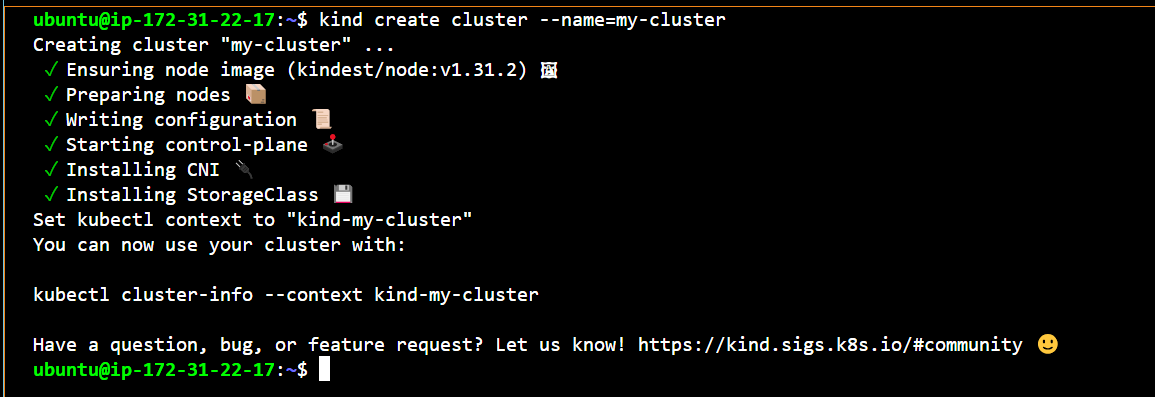
To create your first cluster with Kind, just run this command:
kind create cluster --name=my-cluster
Check Your Clusters:
To see the list of available clusters, just run:
kind get clusters
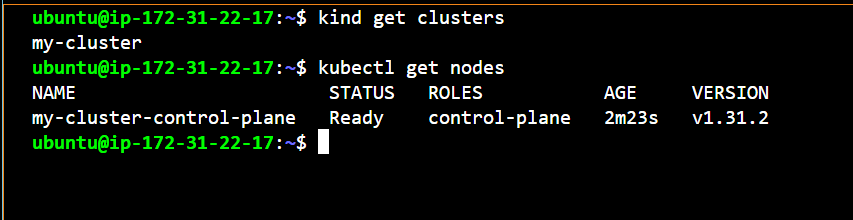
This command will show you all the clusters you have created with Kind.
Check Kubernetes Nodes:
To view the nodes in your Kubernetes cluster, run the following command:
kubectl get nodes

This will display the nodes in your Kind cluster, showing their status and other details.
Congratulations
You’ve installed and set up Kind (Kubernetes in Docker), and successfully created your Kubernetes cluster. Now you can start deploying applications, managing pods, and exploring all the possibilities with Kubernetes
Stay tuned for upcoming blogs where we’ll dive into more detailed aspects of Kubernetes. Thanks for reading, and let’s keep learning together